Making some shelves for the shed
I was feeling kinda burnt out at work, and I’m fortunate enough to have some savings, so I’m taking a career break, and trying not to computer too much. I decided to try my hand at woodworking.
To keep this relatively risk-free, I decided to make some shelves for the garden shed. It’s a shed, so it doesn’t matter if it’s not perfect, or even good. I borrowed a track saw from a friend, bought some plywood and got started.
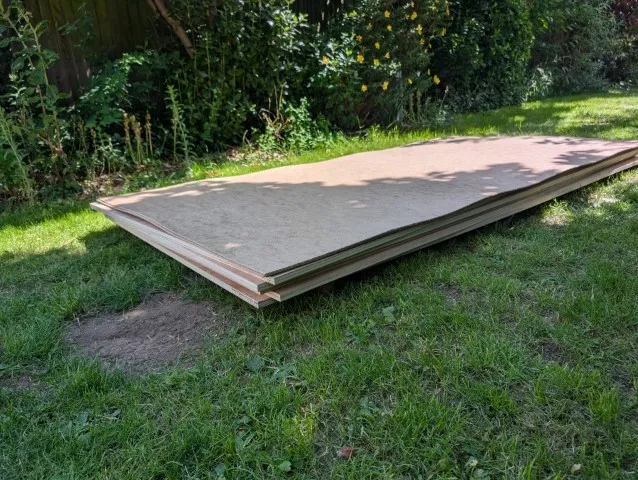
I might have over-purchased plywood. I definitely over-purchased hardboard (it only came in packs of 3).
I don’t have a workshop, so I had to work in the garden. This came with its own problems, such as working on the uneven ground. In particular, given that the UK is currently going through a heatwave, working outside was physically taxing.
Planning
I decided to make three units:
- Two sets of shelves, where one is wider and taller than the other. These would go together on one side of the shed. Because I store my bicycle in the shed, the shorter unit would leave room for the handlebars over the top.
- A longer, shorter unit to either go under the existing workbench or to replace the workbench. In the end, I replaced the existing workbench.
Small carcass
After a few days, I had some carcasses put together. Here’s the smaller of the two:
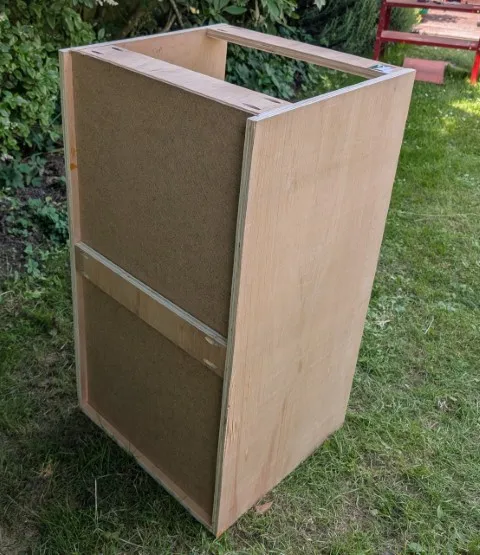
Even though this is for the shed, I decided to try something more advanced than just sticking four planks together with nails. You can see that I’ve added a back board to the smaller carcass, and used pocket hole screws to attach rails at the back and on the top.
Cutting a groove for the back panel
The back panel is fitted to a groove in the sides, which I’m quite pleased with. I do have a router, but it’s a full-sized, corded, plunge router, and it still scares me a bit, so I used the track saw to cut the grooves.
The hardboard is slightly thicker than the tracksaw kerf, so I came up with the following: I clamped a straight edge to the board and added a shim (a steel ruler on its edge). Then I pulled the saw track tight against it and ran the saw along the track with the depth set to about 5mm. Then I removed the shim, pulled the track tight and ran the saw again. This resulted in a straight groove in the board at the appropriate distance from the back.
This mostly worked well, but I should have cut the groove deeper, which would have given me more leeway when cutting the back to size.
Pocket hole screws
I bought a relatively cheap Trend pocket hole jig. It’s … not great.
Out of the box, the main bolt was already stripped, so it wouldn’t tighten down on the workpiece. Fortunately, I had a spare bolt of the correct diameter. It wasn’t the correct length, but a few spacing washers (also from spares) sorted that out.
Once that was dealt with, actually drilling the pocket holes was relatively simple. I clamped the jig to my (approximately 50 years old; it was my Dad’s) Black and Decker Workmate and had those knocked out pretty quickly.
Clamps and jigs
To assemble the carcass, I bought some more clamps and cobbled together some right-angle corner jigs by cutting some scrap hardboard to hold everything in place while screwing it together.
I didn’t use glue, just in case I made a mistake during assembly. Also: this is for the shed, so it doesn’t need to last forever.
I need more clamps. I think that makes me a “proper” woodworker now.
Large carcass
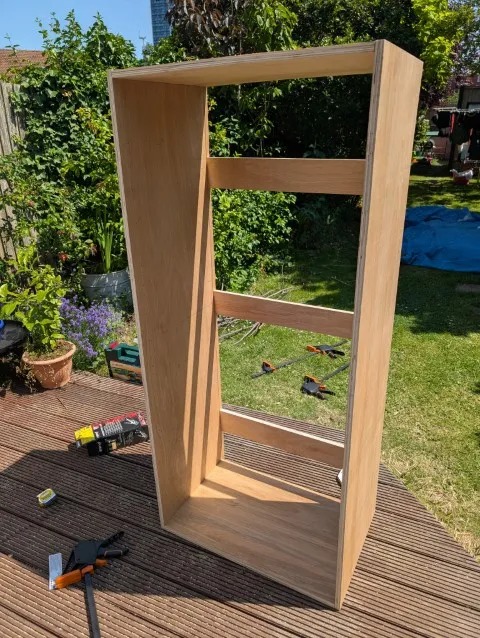
Once I’d got the smaller carcass together, I moved onto the taller carcass. It looks like this:
Shelf holes
This one has adjustable shelves. For this, I bought a shelf hole jig. I couldn’t find it locally, so — despite the fact that Jeff Bezos doesn’t need yet another yacht — I had to buy it on Amazon. It’s this one.
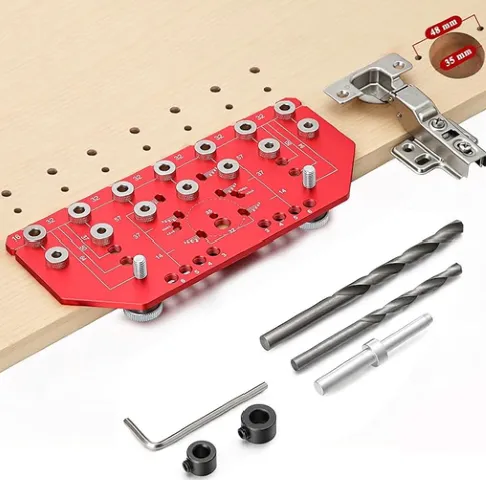
The jig has holes for standard metric and imperial pegs, and various ways to set the spacing from the edge of the board correctly. It also has markings for Euro-style hinges. I didn’t try those, because I’m not fitting doors.
The drill stop (the collar that you screw to the drill bit) slips gradually, so you need to check it occasionally, otherwise you’ll drill all the way through the workpiece. For my purposes — shed — this isn’t a huge deal. If I was building something where this mattered, I’d be more careful, or find another way to stop the drill at the correct depth. Or maybe there’s a knack to attaching it?
It also turns out that B&Q shelf pegs aren’t a standard size, so you’ll be relying on gravity to hold the pegs tight. This seems like it’ll work, though.
Fortunately, IKEA shelf pegs are the correct size, and I found a bag of them in the back of the shed.
Base frame
In order to attach the two carcasses together and make sure they’re level, I added a base frame (also sometimes called a plinth).
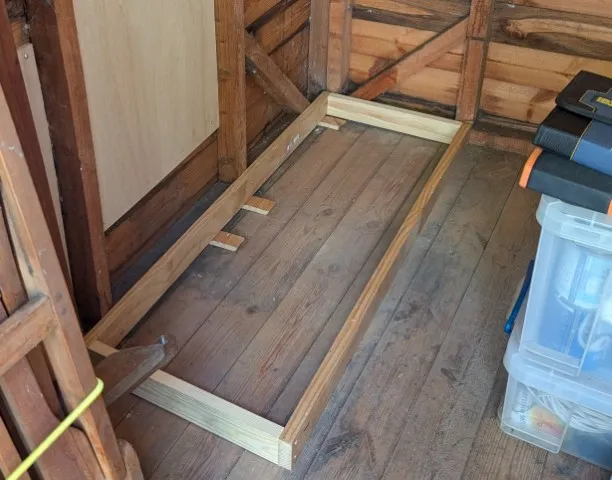
To cut the long sides to the same length, I used my mitre saw, and cobbled together something to support the piece and added a stop block.
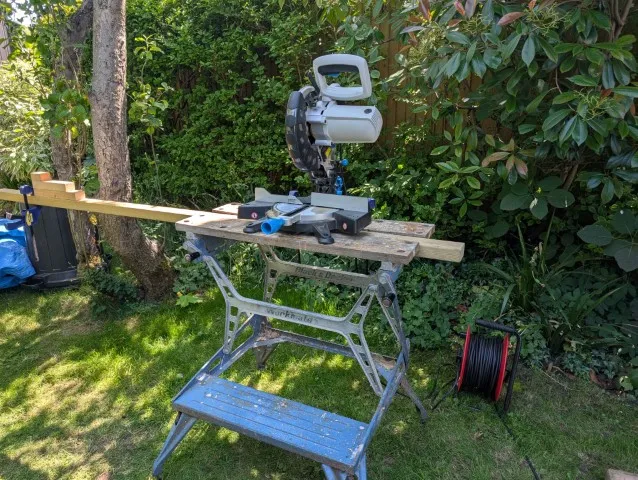
(This is my mitre saw station and it’s not winning me any Woodworking YouTuber points…)
To make sure that it was flat and level, I cut some wedges out of a length of old skirting board.
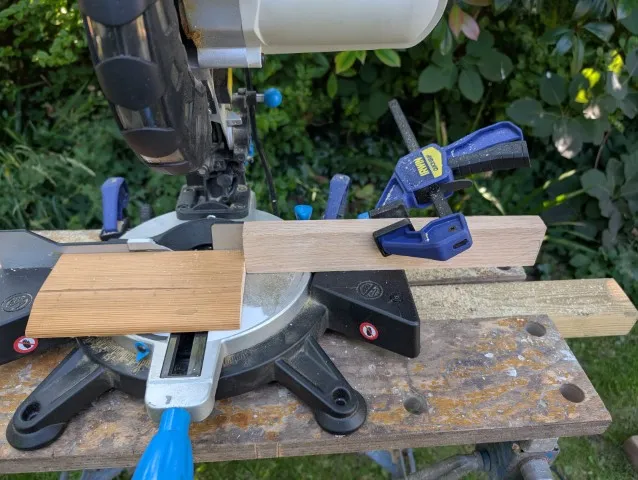
Again, I didn’t get fancy with the stop block. Not that I needed a stop block; I just wanted to try something out.
Finished Shelves (almost)
Here’s the (almost) finished product:
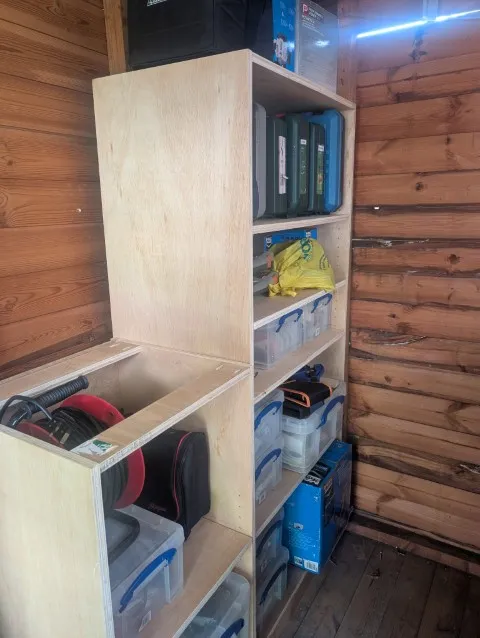
At this point in the build, I haven’t fitted a top to the shorter carcass. I grabbed some spare veneered particle board (originally shelf boards) and cut them to size, and then screwed them to the top rails. Seems to work well.
Workbench
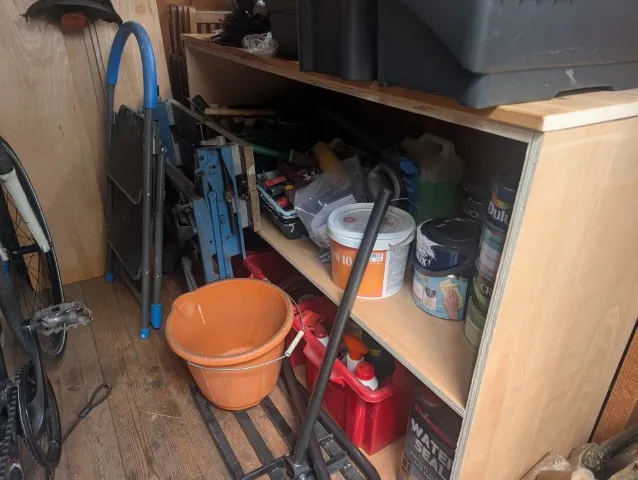
The workbench on the other side of the shed went pretty much the same. I originally planned to do some more advanced stuff with the router — cutting dados, e.g. — but I’d already spent too much time in the garden in a heatwave, so I decided that perfect was the enemy of good and called it a day.
Retrospective
- I need to get better at measuring and verifying and cutting. At various points, things didn’t quite fit together, or
weren’t exactly square. There were a number of contributing factors:
- Working on the uneven ground didn’t help.
- For the long cuts, I had to join two pieces of track together, and the joining kit for my friend’s track saw was missing a piece, so it was hard to keep them perfectly aligned. The splinter guard was also kinda scuffed, so aligning it with the marks was challenging.
- Repeatability, rather than accuracy, is king.
- Repeatable cuts with a track saw, on the ground, are hard. I attempted to make a jig, which mostly worked, but (I think) sawdust kept building up and throwing the spacing off.
- Supporting the workpiece is important. Without this, the blade can bind (burning and tearout), and the piece can flex and wander (inaccurate cuts).
- I don’t have space for a table saw.
- No, not even a small job site saw. I do like the look of the Evolution R255, though.
- I don’t even have space to store one, so even if I’m working outside, I can’t really use one.
- If this wasn’t a borrowed track saw, I might have invested in some parallel guides.
- I might have had better luck with a MFT-style worktop. I’d get better accuracy and repeatability, and would have been
able to keep the cuts square more easily.
- It would need to be a portable one, though, and I’d have to find somewhere to store it.
- Woodworking can be an expensive hobby. If I’m going to continue with it, I need to give up on my career break and go back to work to earn some more money.
- Sawdust gets everywhere. If I were in a workshop, I’d want a good shop vac system, good ventilation and a good mask. My garden is still covered in sawdust, after several weeks.
- I could have saved some money by buying thinner plywood. I bought 14mm plywood, which is probably overkill.
- I could have saved some money with an accurate cut list. I had an entire 8’ by 4’ sheet left over. Which I then had to cut into four pieces to get into the shed to store for the next project.
- I bought the plywood from a local builders’ merchant, which means it’s not joinery quality — it’s got some minor voids in it, and the veneer is razor thin. If I was doing anything where appearance really mattered, I’d want better quality.
Conclusions
- Picking a low risk project to learn from was a good idea. This is probably more involved than most people’s first project, but it was going in the shed, so it didn’t need to be perfect.
- I learned that woodworking is rewarding and satisfying. I enjoyed it. Sometimes it was frustrating, but it was fun to think through and solve the problems that came up along the way.
- I need more clamps.